Last Monday I posted about my wall version visual schedules.
This week I thought I’d share the next step I take with my learners. It is important to keep pushing our students into more functional routines. For my students who have mastered wall schedules, I typically move them to binder schedules next. The pros to these types of schedules are that they are portable and they are customizable.
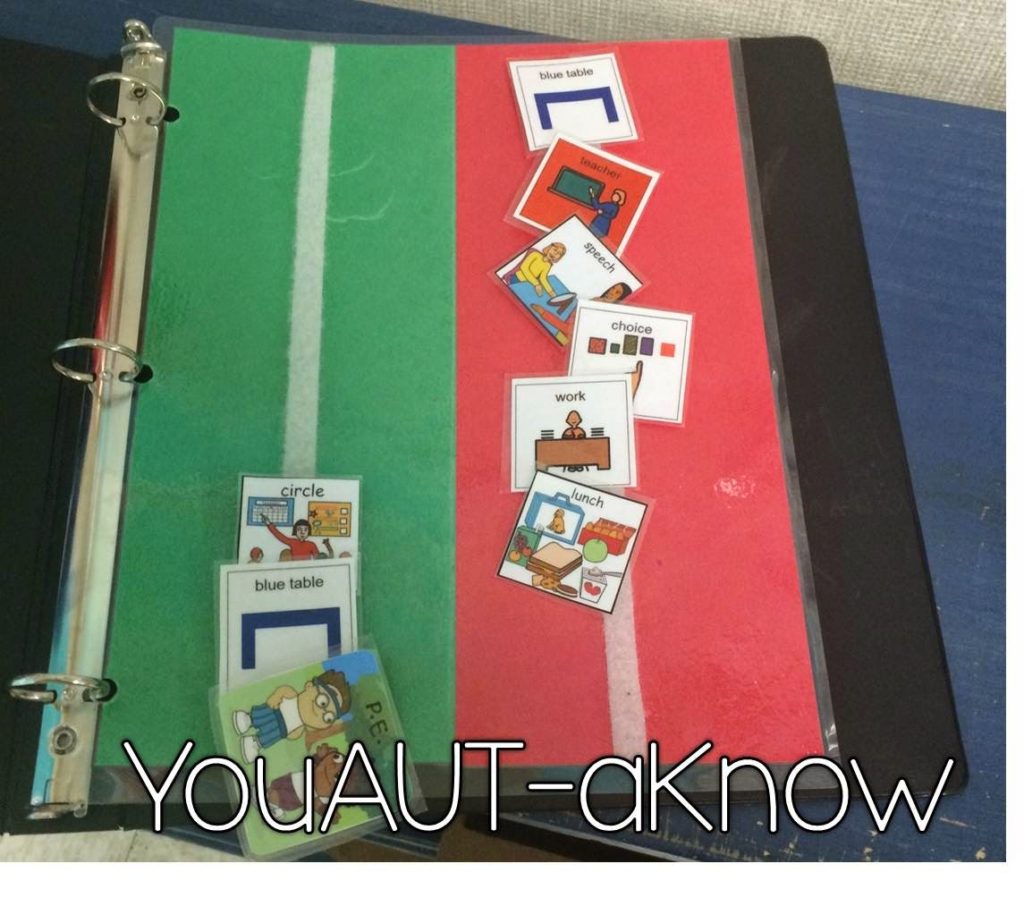
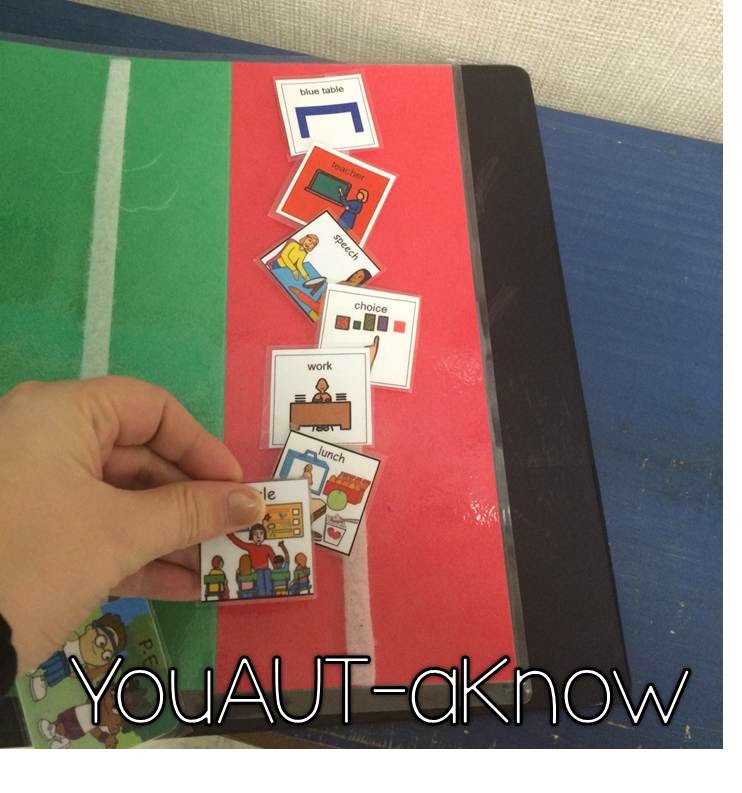
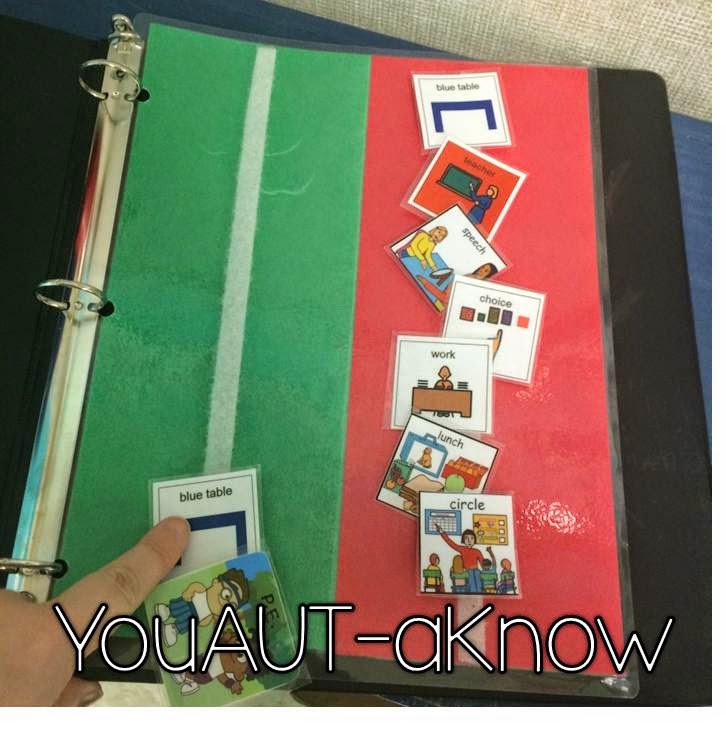
I simply laminate a sheet that is half red and half green. I attach a velcro strip to each side. I set up the items to be done on the green side. I usually set up the day into smaller chunks (especially at the start) so my students aren’t overwhelmed by the change. When a student is given their transition icon, they take it to their binder, attach it, look inside, move the finished item to the red side and go to the next location (what’s next on the green side).
Check it out:
 |
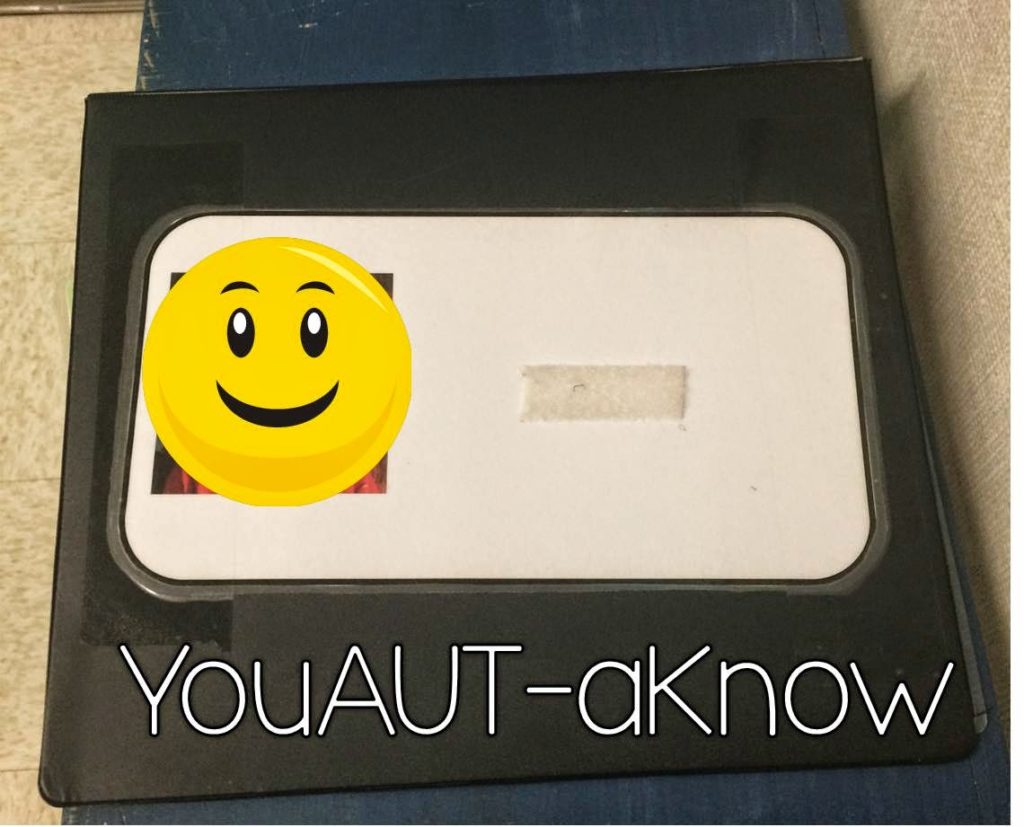
| Students binder. They are given their name as a transition cue. |
 |
| Inside the binder. Circle has just ended. |
 |
| Move circle to all done. |
 |
| Blue table is now the next activity. |
Get your own schedule template. Click below!


