I have been sharing about Discrete Trial Training, check out the posts:
{Discrete Trial Basics: What Is Discrete Trial Training? Who is it for?}
{Discrete Trial Basics: Where does it take place? When does it occur?}
{Discrete Trial Basics: Why do we use DTT? How do I implement DTT?}
{Discrete Trial Basics: Organization Tips}
{Discrete Trial Products and A Giveaway!}
{Discrete Trial Basics: Awesome Reinforcers}
So I’ve shared the basics with you, now it’s time to see what it looks like in my classroom.
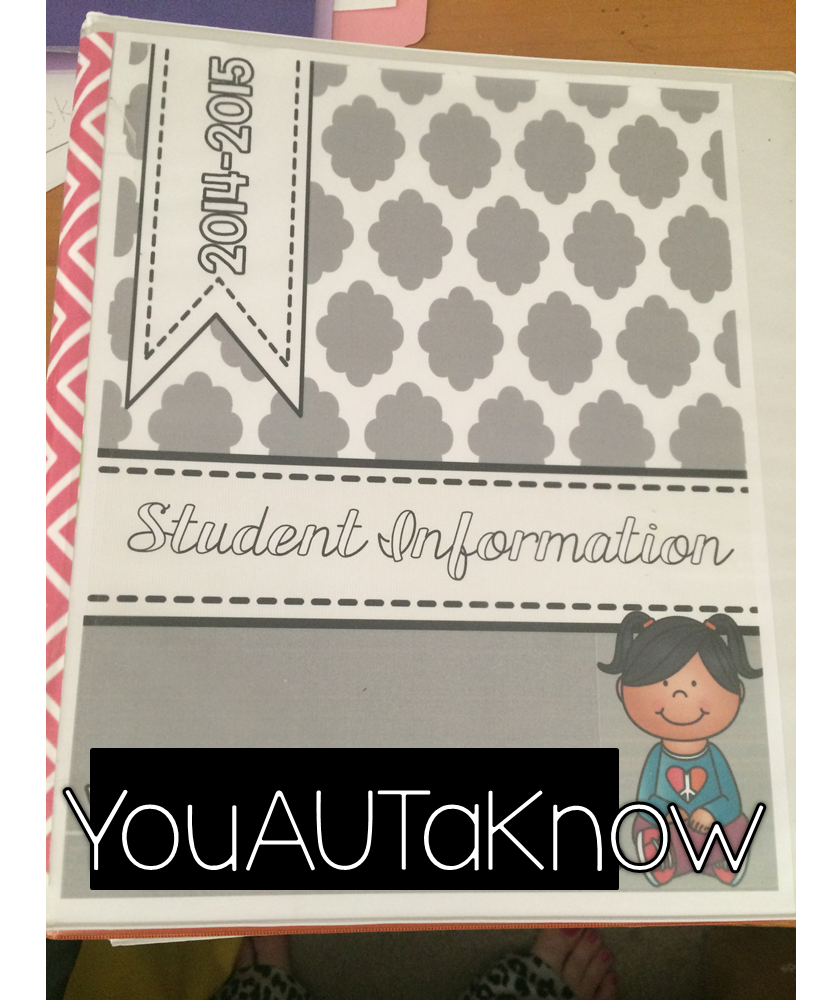
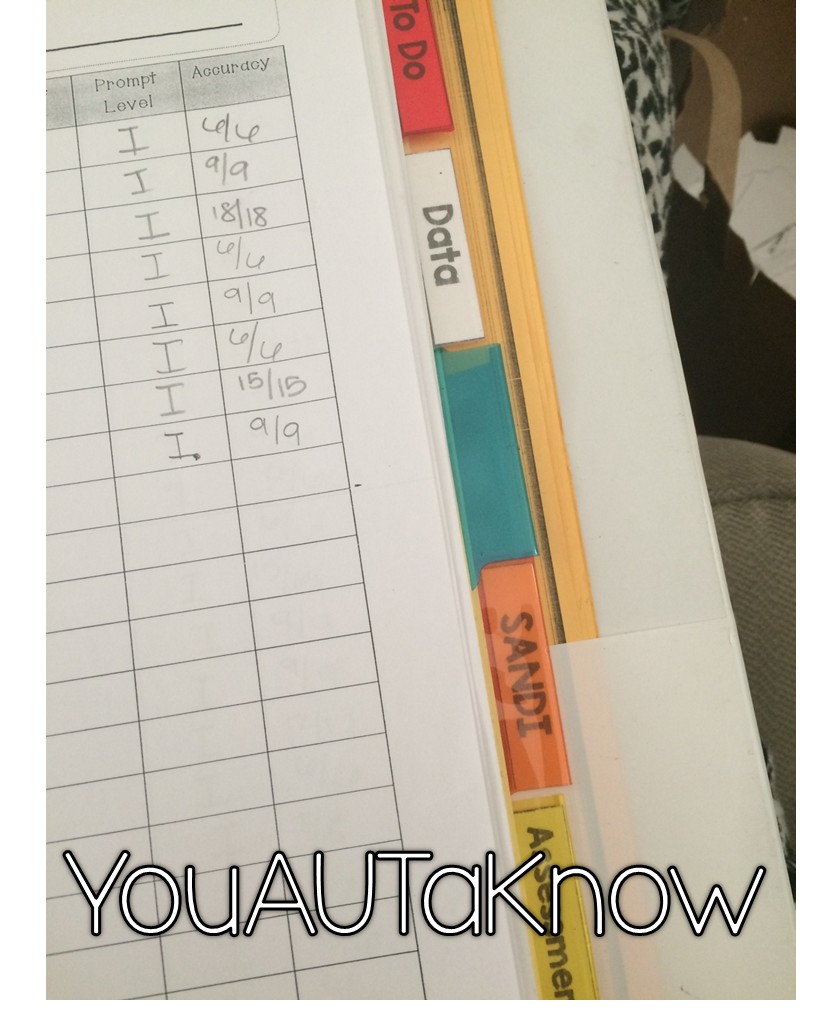
I have set up a binder for each of my students (pst, keep reading, there might be a few freebies at the end of the post). Inside each binder I put a set of dividers. This is where I keep work. The tabs are divided like this:
1 = to do
2 = data
4 = SANDI
5 = assessments
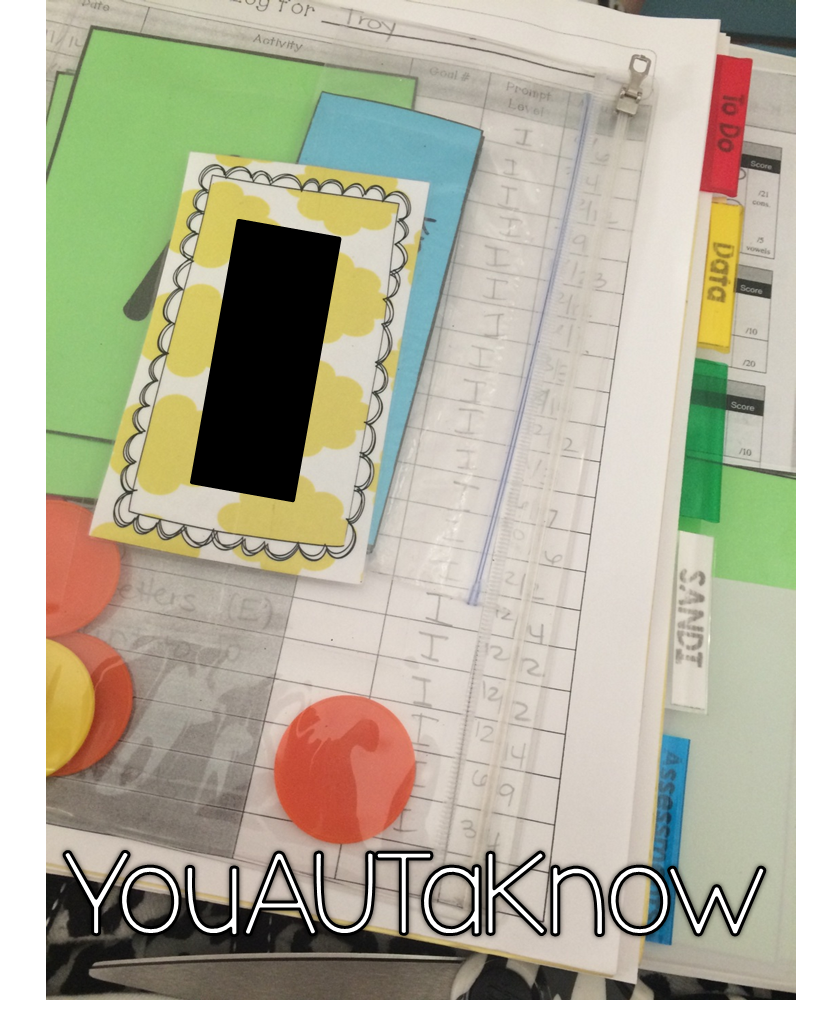
I also have a pencil pouch in the front with all the flash cards and materials needed for the lessons being taught.
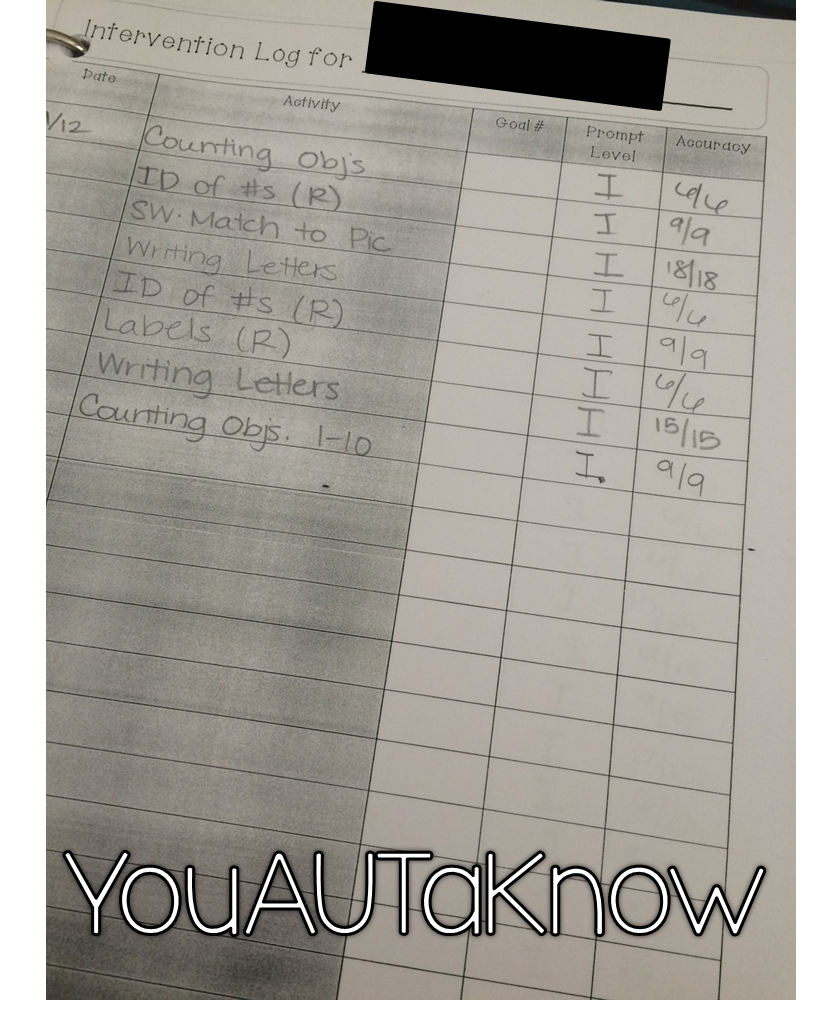
In the front I keep an Intervention Log where I keep track of lessons taught, accuracy, and prompt level.
Under the “To Do” tab, I lay out lessons for the day:
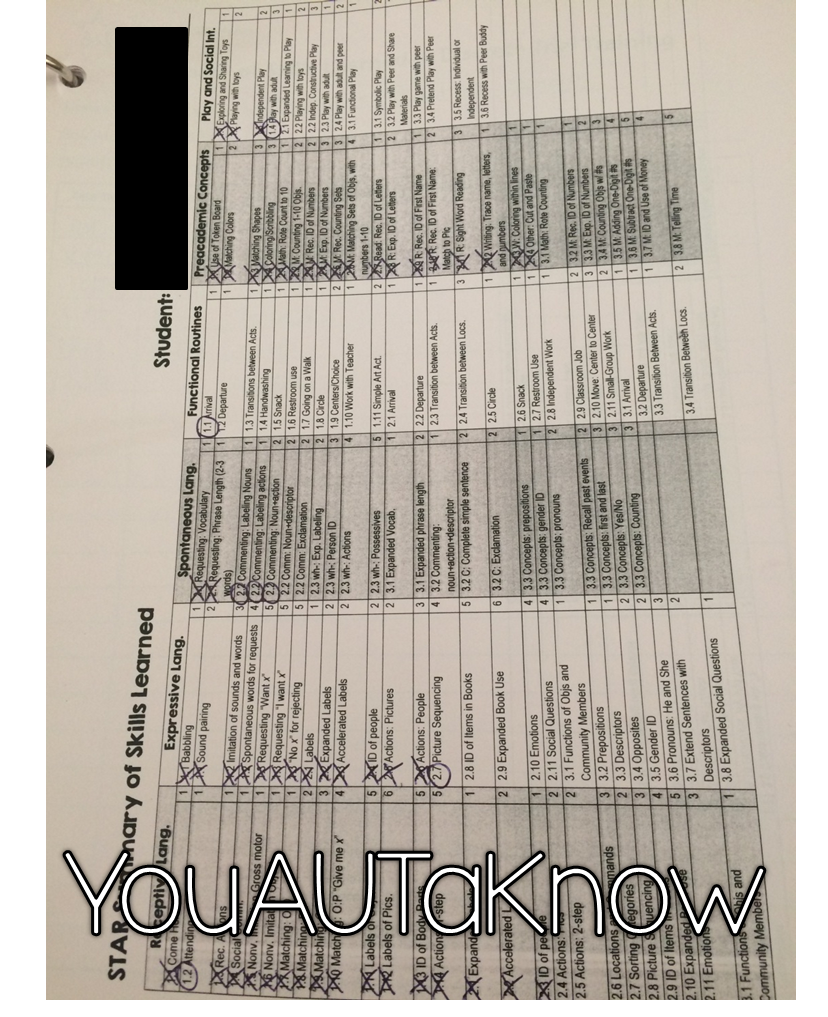
Under the data tab, I keep a few things, first, because I use STAR I have included this program cheat sheet I created:
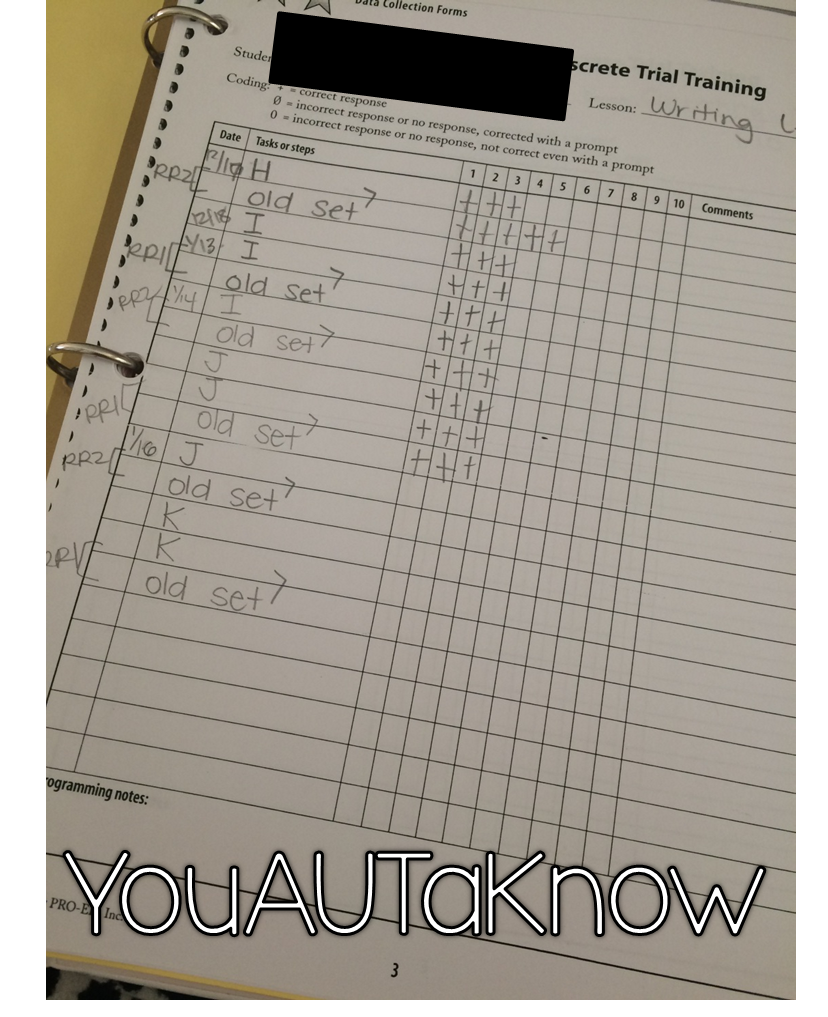
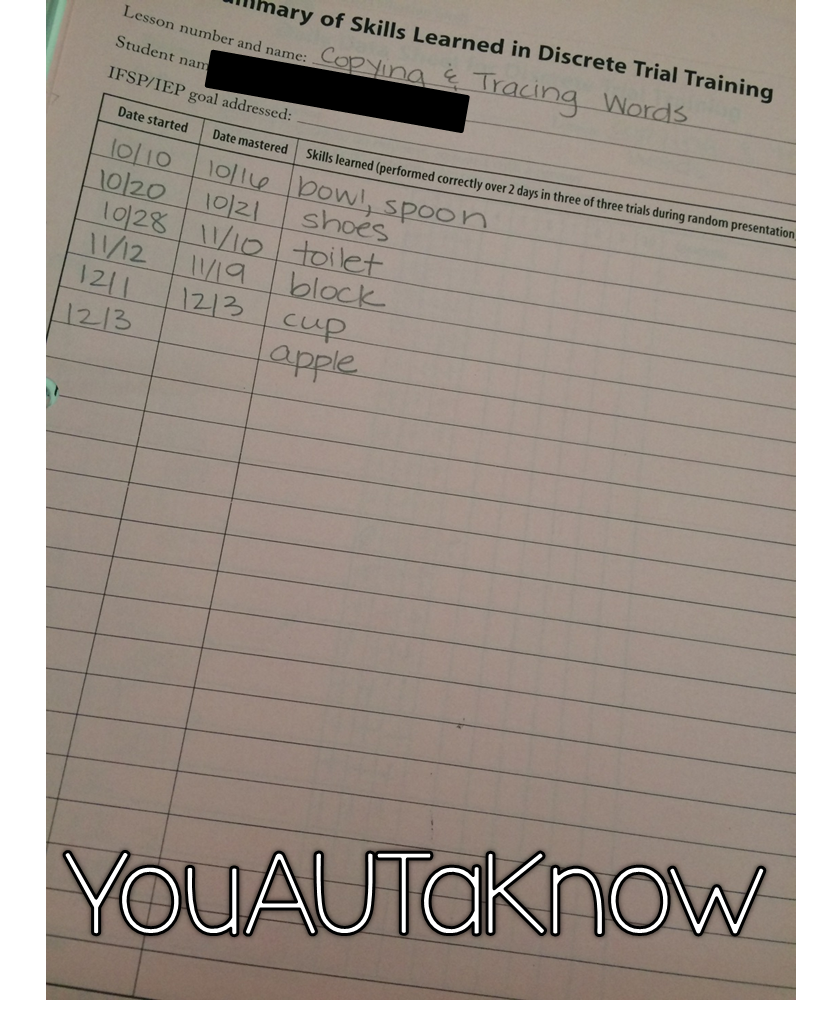
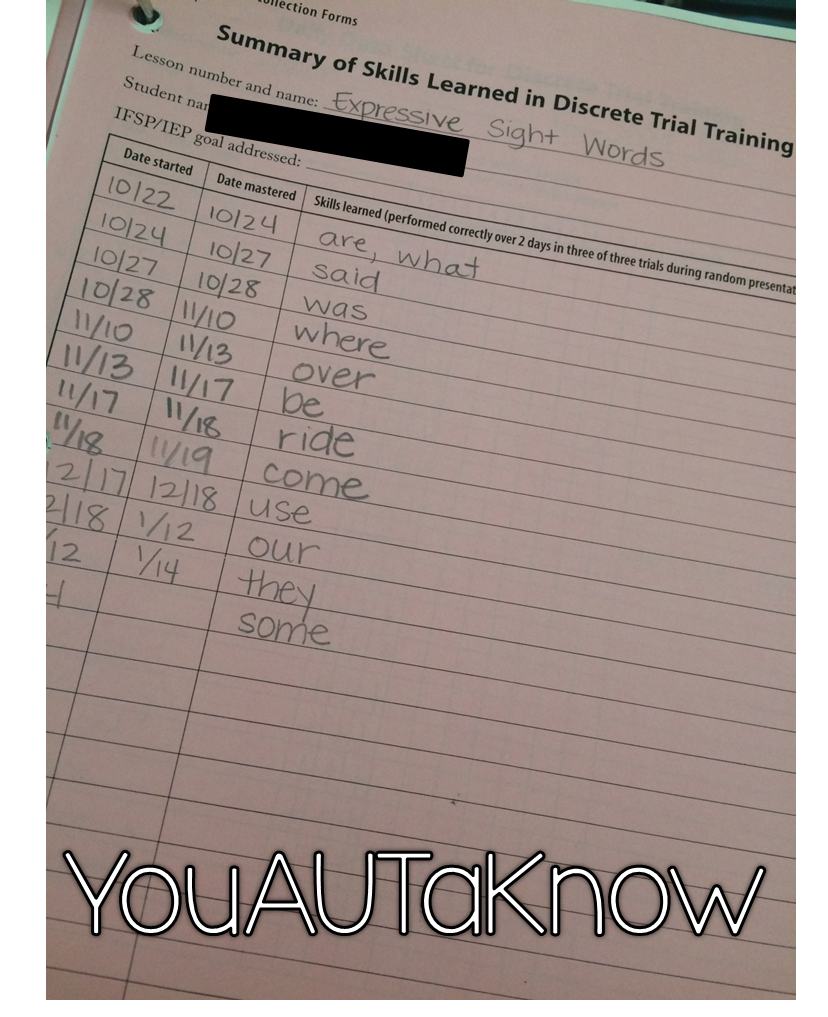
I also keep old daily data sheets and program mastery sheets (I copied these on pink paper so I could tell the difference when I’m collecting and reporting on data).
Head on over and get your FREE editable binder covers (click on the picture)
These are my must have items for organization:
**Disclaimer: I am by no means an expert on Discrete Trial
Training. I simply have researched and implemented with some training
and coaching in my classroom. This is what I have learned over the past
few years.

