**This post about how to set up the best home school communication system contains affiliate links. **
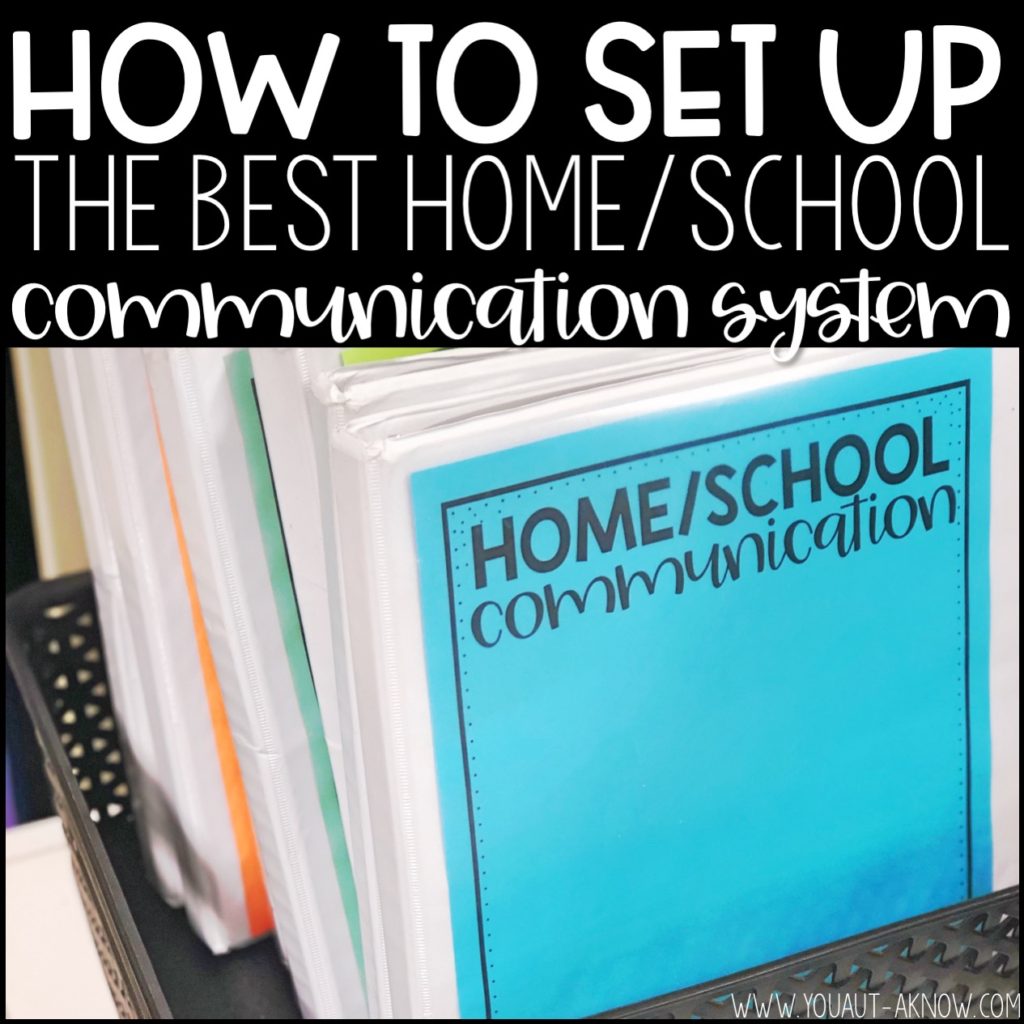
When it comes to home/school communication, setting up a system that works for you is one of the most important things you can do. I’ve tried all the systems. I tried using a note home. I tried bingo dauber daily reports. I tried using a digital system. None of those were quite right for me. When I put together this binder Home School Communication System, I found something that worked really well for myself and the families in my classroom.

Setting up this communication system was a breeze once I outlined the things I needed in a system and found a way to implement them. I decided to use a binder because it was something my students could take back and forth to school and they would be able to share things with their parents.
Getting Started with your Home/School Communication System
Once you’re ready to set up this quick and easy communication system you’re going to need the following:
- Binder (I prefer a 1″ view binder so I can put a color coded cover in)
- Poly Folder
- Avery Stickers (8163)
- Printable Cover and Sticker Template (download here)
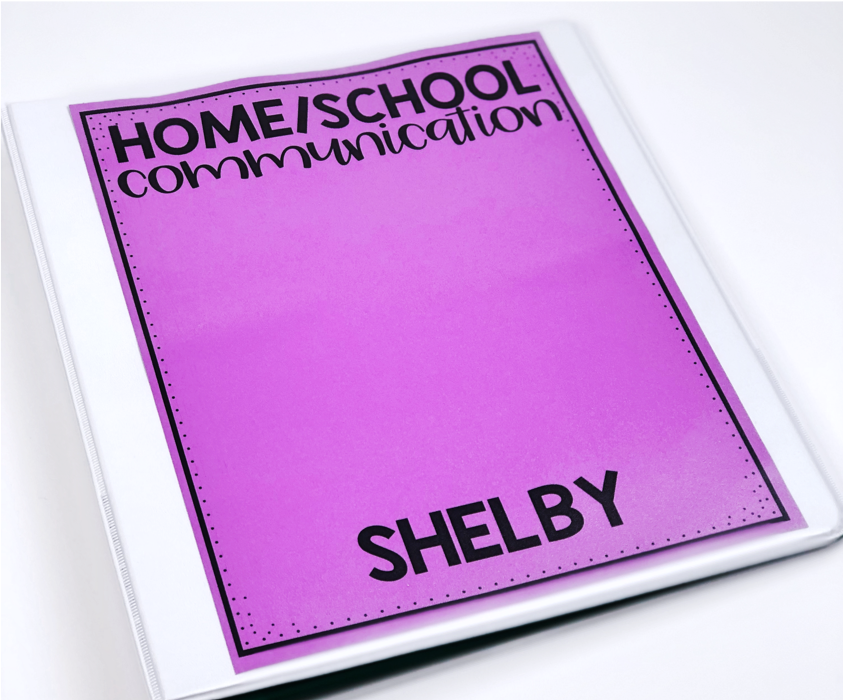
Once you have everything it’s really easy to set up your binder and customize. I like to print my stickers first and make sure I have enough for each student. Then I print my covers on colored paper. I color code all the things in my classroom. That means whatever color a student is identified with in the classroom, I’ll print their cover on that color paper. I like color coding my binders for a few reasons. 1) It’s easier for me to find when I need to drop notes in specific binders. 2) My nonreaders are able to find their binder by recognizing the color.

Organizing Your Communication Binder
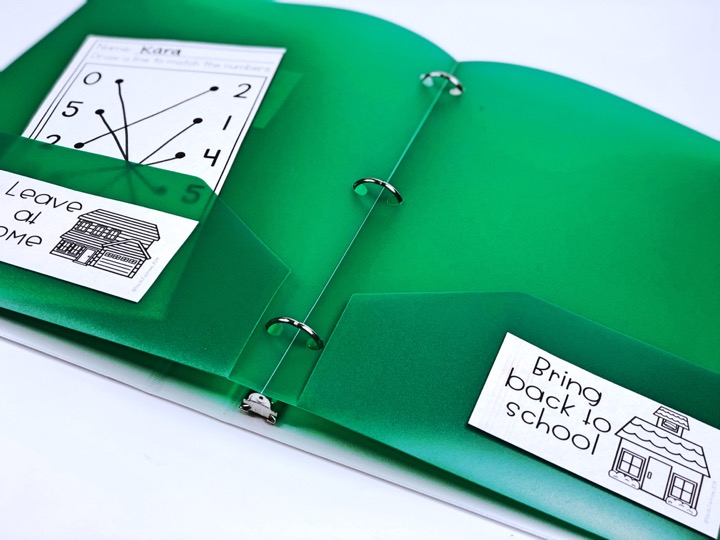
After printing, I add my stickers to my folder. I put the “Look what I did” sticker of the front of the folder. Inside, I put a “Leave at home sticker” on the left side and a “Back to school on the right side”. This allows my student to take home completed work and I can also send home forms and materials that need to be returned to school on the right side. In the past I’ve added a second folder for homework, but I switched to homework bags a few years ago. I included some homework stickers in the free sticker and cover download for you in case you want to make a homework folder.
Now that the stickers are ready, I pop the folder into the student binder. Then I’ll add the cover to the binder. I chose to use stickers with visuals for a couple reasons 1) my students need visuals and I’ve made packing their binder part of their departure routine and 2) many of my families have different home languages, so they visuals help at home, too!

Customizing Binders
Once that’s set up, we’re ready to go. I can also easily customize for specific students as needed. In the past, I’ve had some students who needed visuals for riding the bus that went in the back portion of their binder. I’ve also had specific behavior communication pages that I copied a pile of and place into student binders so they were ready to go.
I find that having a basic home-school communication binder works best for my classroom. My students know that all of their important things go in the binder. At our back to school night I tell parents about the binder and that I will be sending classroom communications home in the student binders regularly. After quite a bit of trial and error in my classroom, I’ve found this is the BEST home-school communication system.
Are you ready to implement this system in your classroom? I provided all the printable you need to get started! Head over to my store and grab the binder cover and sticker templates for FREE.


