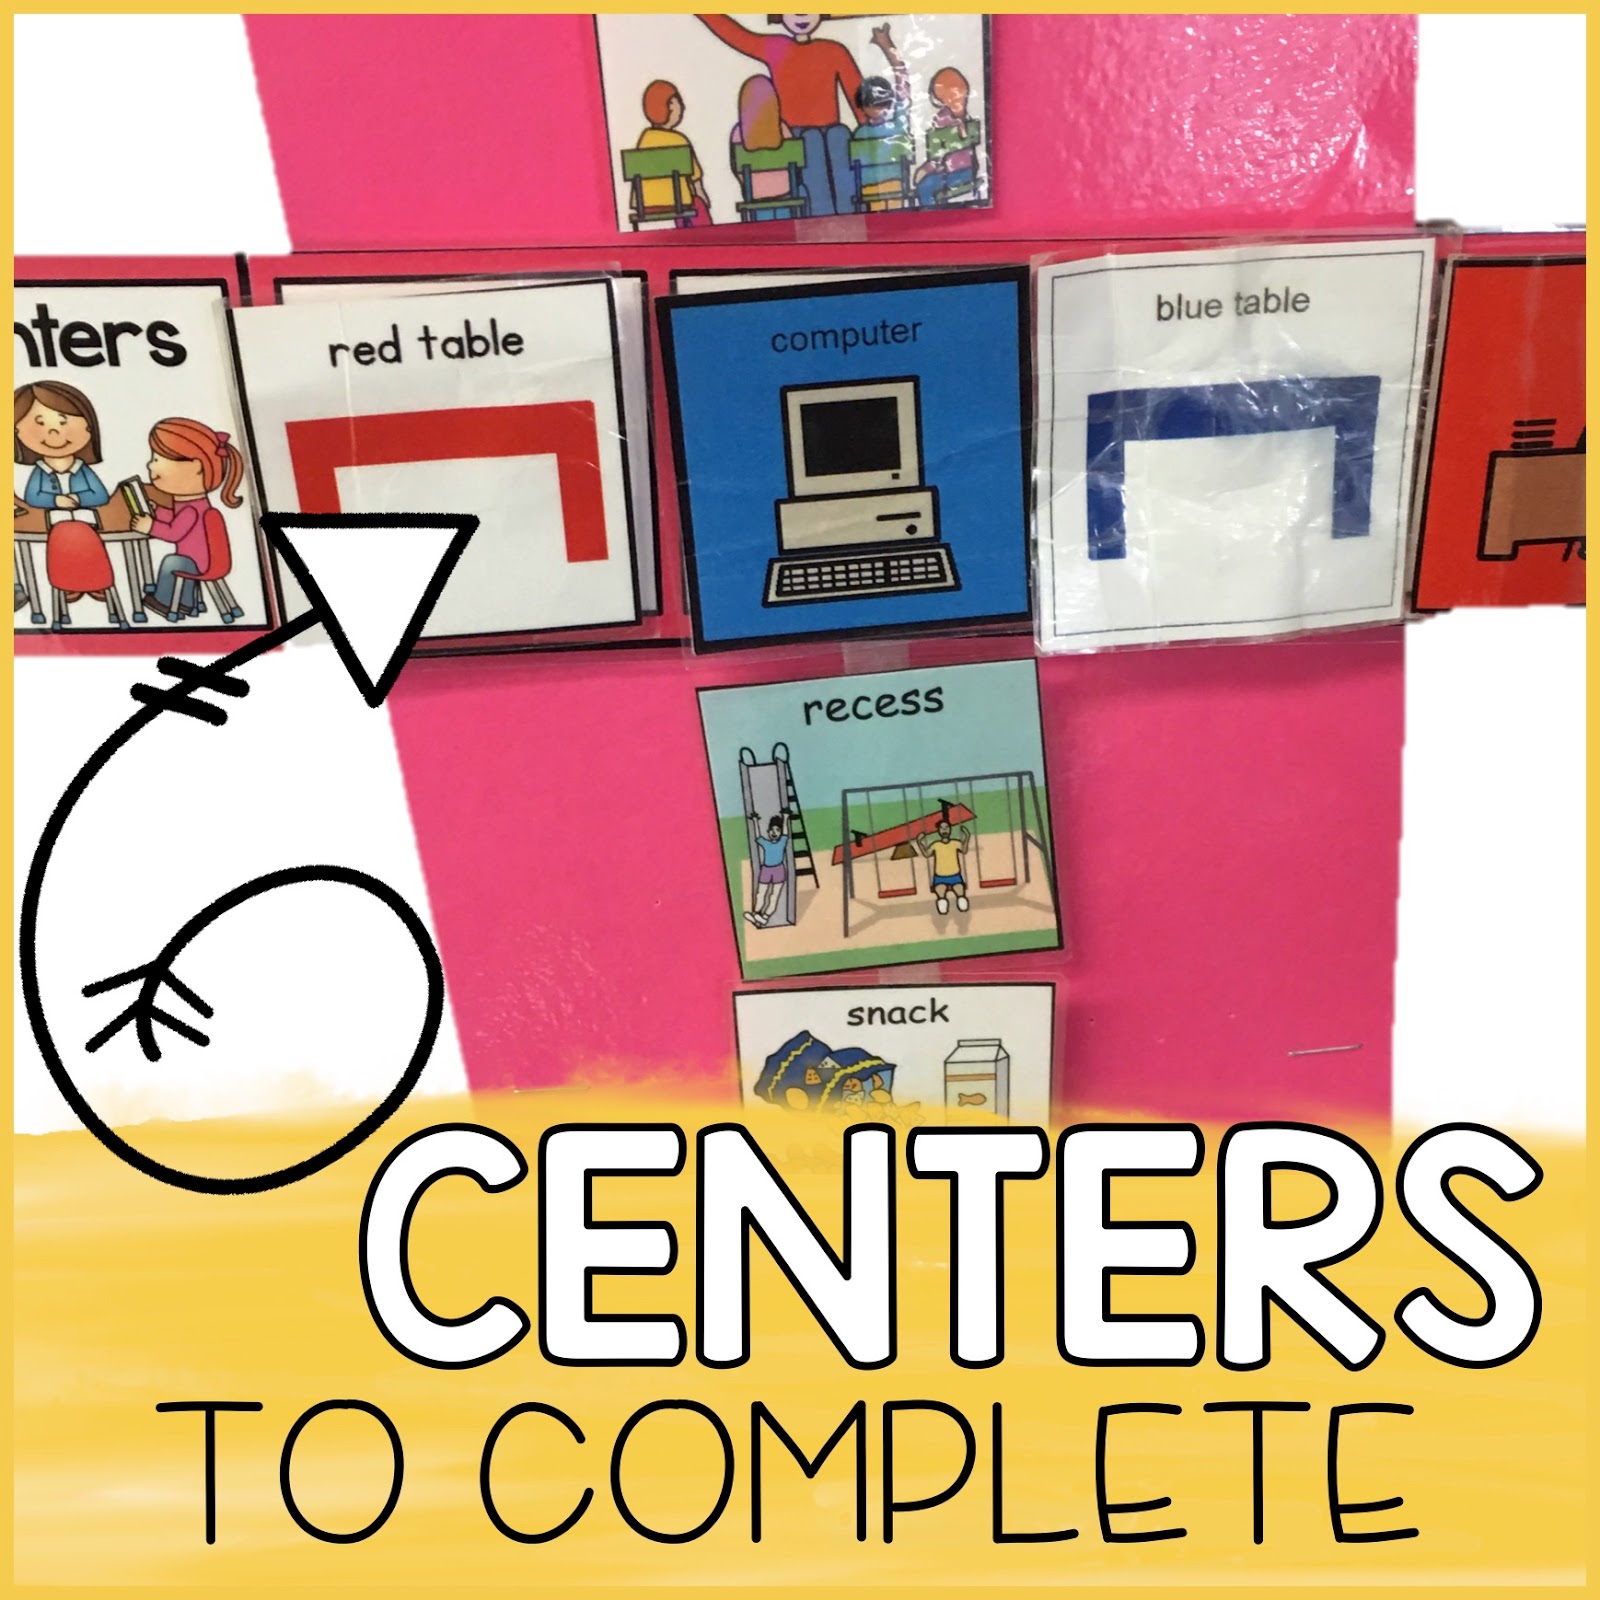
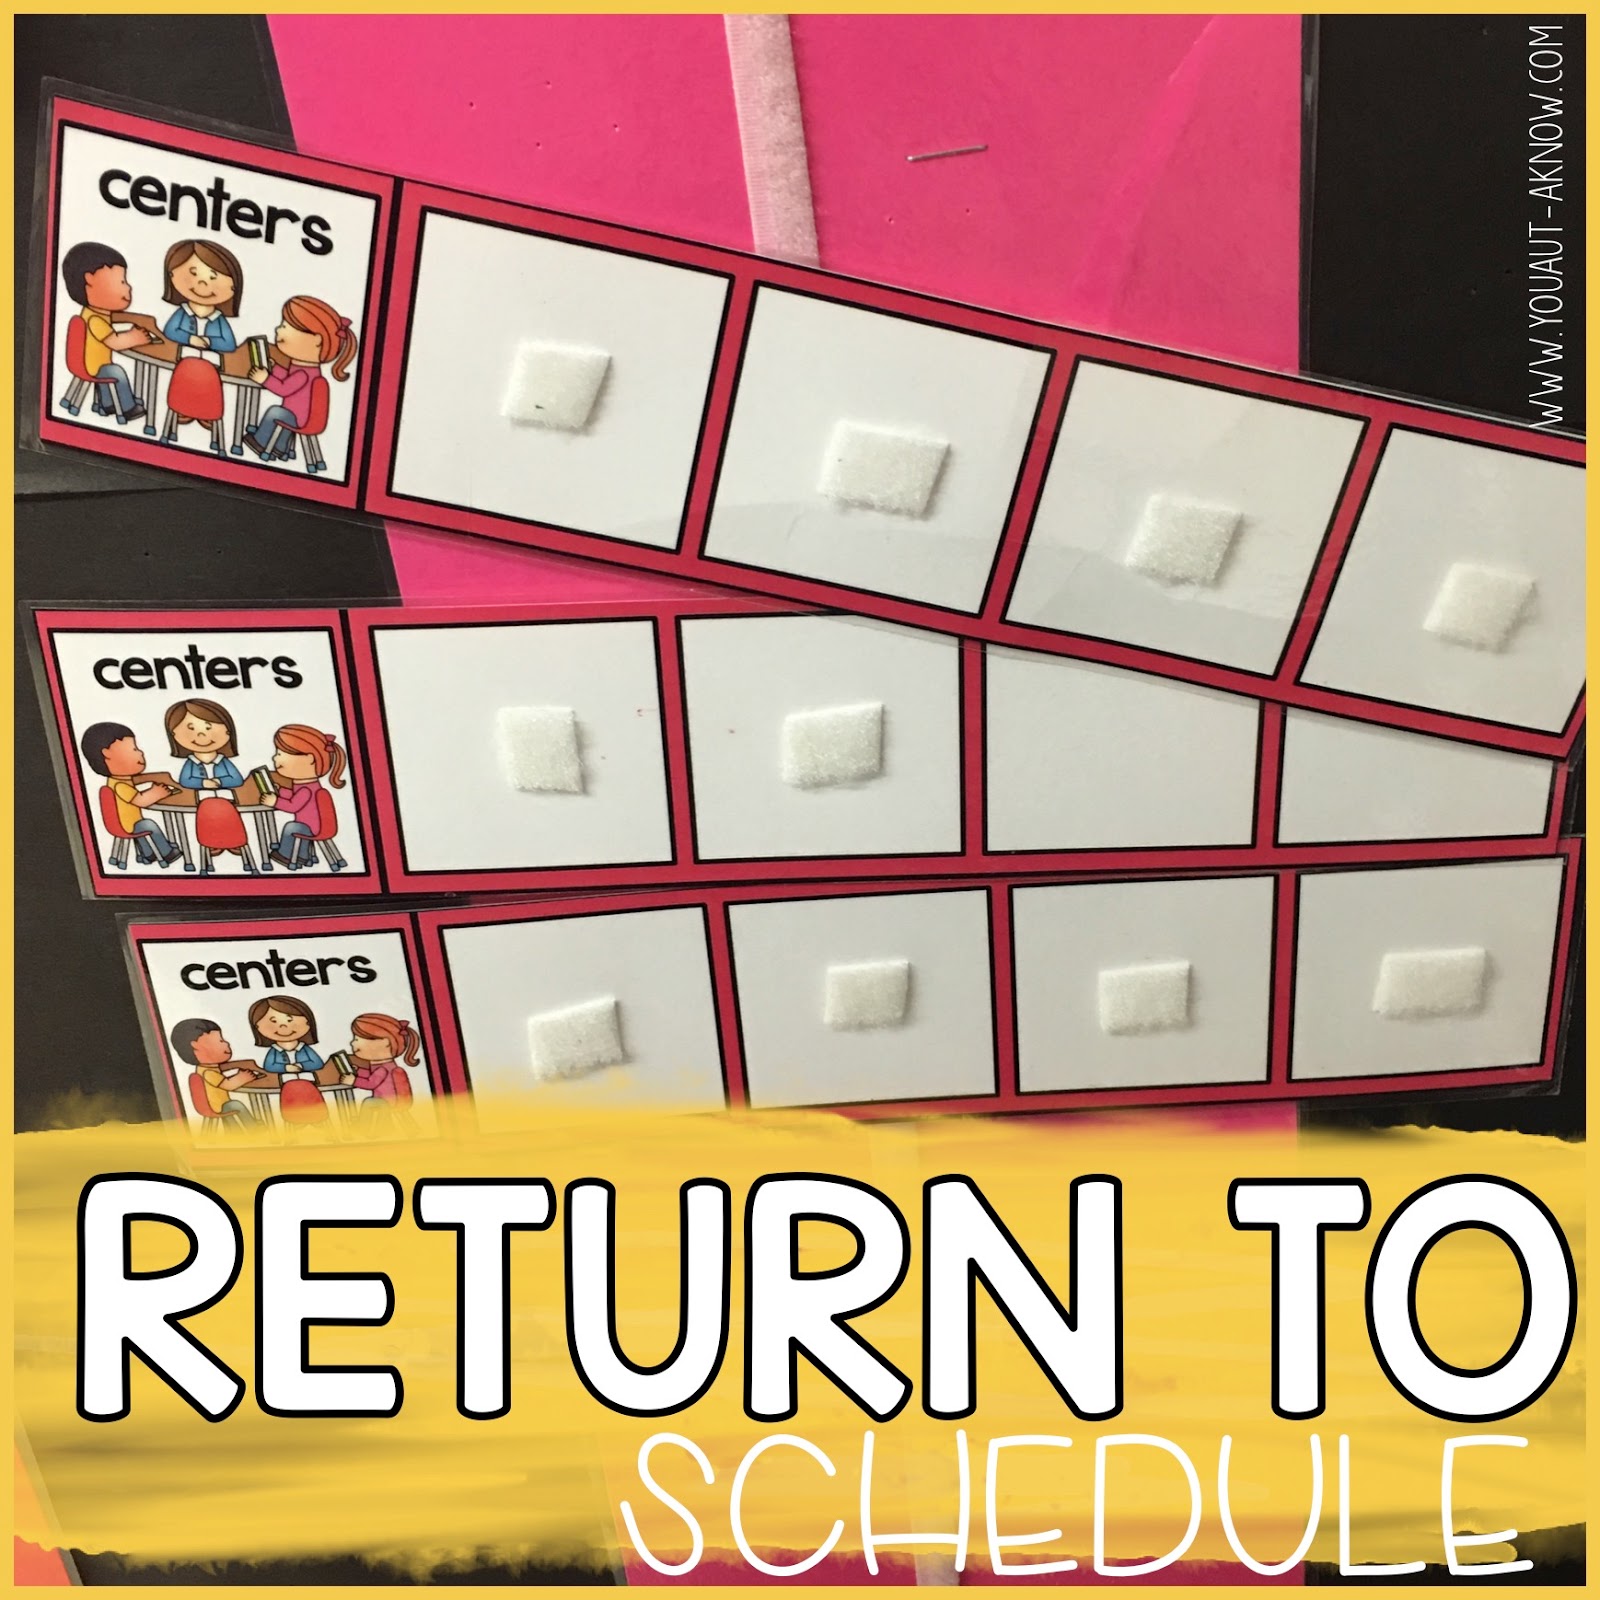
To help my students start transitioning around with an item, I move to a center strip on my student’s schedules. These strips contain the centers my students are to complete during their rotation time. Just like the other centers in my classroom, they take the icon off and match it to their destination center. They continue to do this until their center stick is empty.
When their stick is empty they return it to their schedule and move to the next activity on their schedule. This step in the middle between wall schedules and portable schedules has helped make the transition smoother for my students.
Thinking about storing the sticks? I don’t know if you’ve seen how I store my regularly used classroom icons, but I have a cabinet next to my scheduling center were I have placed all of the icons on the door inside. I added a mini manila envelope to the inside of the door and chopped off the top. It makes it super easy to slip scheduling sticks in and out of throughout the day without taking up a ton of space inside my cabinet. It’s a winning decision in our classroom!
Oh, and here’s an extra tip, don’t move your whole class over to center sticks or portable schedules all at once. That was a disaster! Try moving one student along at a time and as their independence is emerging, introduce the skill to another student. Slow and steady will win your race.


Hi Erin! I have been wanting to do this with my kids, but had yet to find a template for the center schedule. Do you have your center stick/schedule template available to purchase or download somewhere?
Thank you!!!
Hi Katie,
If you email me at erin@youaut-aknow.com I can direct you to the center sticks.
Erin